 | |||
 |  |  | |
 |  | ||
 |  | ||
 |  | ||
 |  | ||
| |||
|
| | | |
| | ||
| | ||
| | ||
| | ||
Written by Paul D. Race for HalloweenTrains.com(tm),  , and , and  |

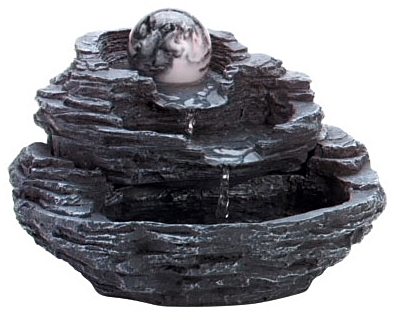
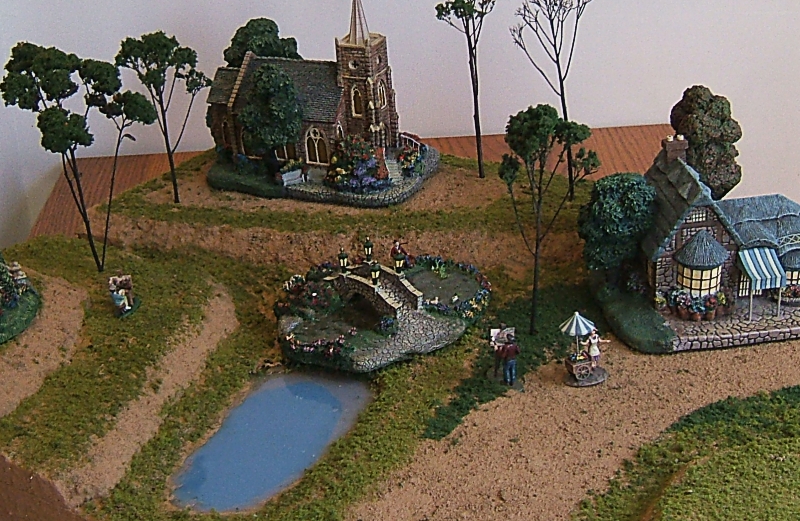
Adding Lakes or Rivers - Here are a few of the many ways of adding the appearance of a lake, pond, or river to an indoor railroad or community:
An additional use of mirrors is suggested by photographers who take pictures of display villages for their catalogs. If you have a long mirror (like one of those cheap full-length mirrors they sell for dorm rooms) use it as a street, burying the edges (and maybe even most of the mirror) with fake snow or some such. You could even draw "tire ruts" in the fake snow so it looks like water has settled into ruts and frozen. Such details help make it look as though the street is a "sheet of ice." The "ice" also nicely reflects your buildings and lighting, adding another layer of "shimmer" and depth.
 The next time you're visiting the hardware store, check the window department to see if they have some odd sizes and shapes of Lucite or Plexiglass they'll let you have cheap. (Most stores hang onto pieces that broke off at a funny angle in case someone comes in wanting a little tiny panel. Some stores save the odds and ends for schools that have requested them, so if you tell them it's for a craft project, that usually helps.) You can use glass, but that can get dangerous, especially on larger pieces.
When you get it home:
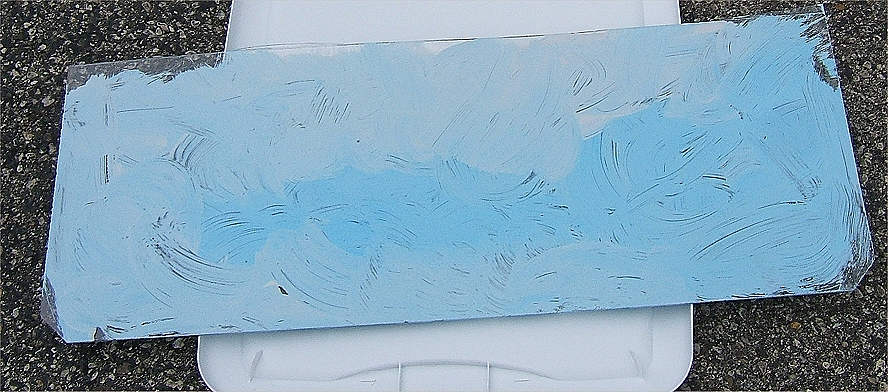
 Paint the underside, with acrylic craft paint or latex house paint (interior or exterior are fine). These have the advantage of being easy to mix, and also of not being entirely permanent in case you feel you screwed it up and you want to rinse it off and start again.
If you are eventually going to use this on top of something white, like a white cloth or a piece of white styrofoam, you don't even have to cover 100%. The brush strokes can represent ice scratches, and the "deeper" white showing through will add depth. Don't worry about "too much" texture showing in your brush strokes. As the photos to the right show, the texture is less obvious when you turn the panel over.
 After the paint has thorougly dried (overnight if you use two coats), place the panel where you want it. If you are glueing it down permanently, glue it down by the edges (otherwise you may disturb your the paint job where it will show.
When you're all done, you may not find it entirely convincing. But when people keep sticking their fingers into the "water" to see if it's really wet, you'll realize that, with the edges hidden, it really does look like a body of water to most people.
I'd recommend starting with a small stream or pond to get a "feeling" for the product. Once you mix the resin, you have a limited "window" before it starts to set up, so be sure things are ready to go and that you can work uninterrupted for ten minutes or so (twenty is better).
We hope to add more photos in the coming weeks. If you have photos of your projects that you would like us to include, or if you have any suggestions or corrections, please contact us, and we'll be sure we give you credit for your contribution.
To Return to the HalloweenTrains.com(tm) Primer Page, click here.

| |
 |
 |
 | |  |
Note: Big Indoor TrainsTM, Big Train StoreTM, Family Garden TrainsTM, Big Christmas TrainsTM, Garden Train StoreTM, and Trains and TownsTM and HallowenTrains.comTM are trademarks of Breakthrough Communications (www.btcomm.com). Spook HillTM is a trademark of Howard Lamey. All information, data, text, and illustrations on this web site are Copyright (c) 1999, 2000, 2001, 2002, 2003, 2004, 2005, 2006, 2007, 2008, 2009, 2010, 2011, 2012 by Paul D. Race. Reuse or republication without prior written permission is specifically
forbidden.
Halloween Trains(tm) is a participant in the Amazon Services LLC Associates Program, an affiliate advertising program designed to provide a means for sites to earn advertising fees by advertising and linking to amazon.com.
For more information, contact us.
