| |||
 |  |  |
 |  |
 |  | ||
 |  | ||
 |  | ||
| |||
| | |
| |
| | ||
| | ||
| | ||
| Written by Howard Lamey and Paul Race for Big Indoor TrainsTM and LittleGlitterHouses.comTM |

|
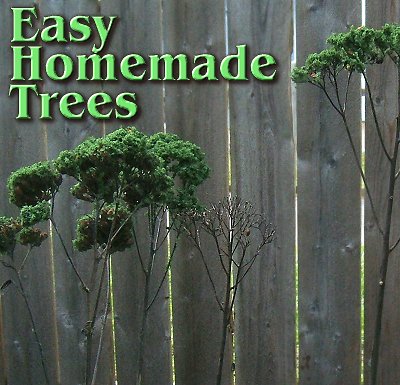
Note from Editor: Glitterhouse designer/builder Howard Lamey uses floral picks to make bare-looking trees for his villages of vintage-style cardboard structures. This is how he explained it to me. Easy HomeMade Trees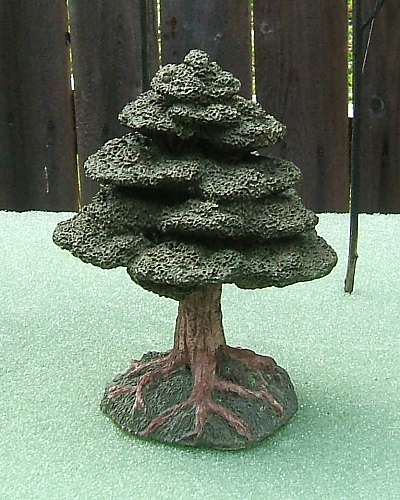 You have resin and ceramic houses - why shouldn't you have resin or ceramic trees? After all, you get them at the same place and they often look a lot like the foilage on your resin or ceramic houses. So that's a good thing, right? Well, yes, unless you want a forest, then you might find yourself looking for more variety, or for a more budget-friendly resouce. You have resin and ceramic houses - why shouldn't you have resin or ceramic trees? After all, you get them at the same place and they often look a lot like the foilage on your resin or ceramic houses. So that's a good thing, right? Well, yes, unless you want a forest, then you might find yourself looking for more variety, or for a more budget-friendly resouce.
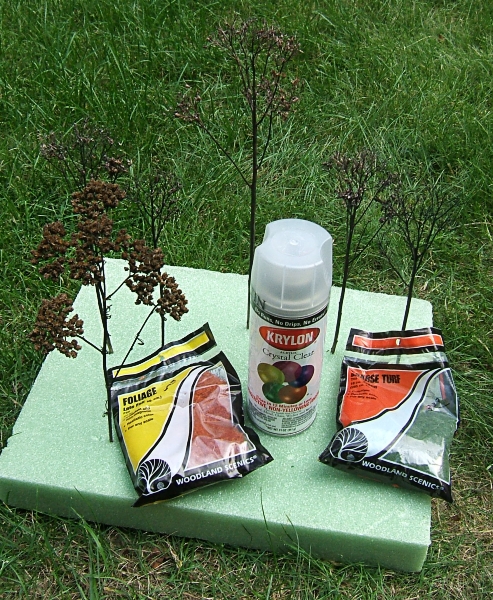
For generations, model railroaders have been building very clever and realistic trees for fairly little money. They use a lot of different techniques, but here's one almost anybody can use, and it's one of the cheapest processes. I'm publishing it now (September, 2007) because it won't be long before one of the resources you need is widly available. What You NeedThe list of materials is simple.
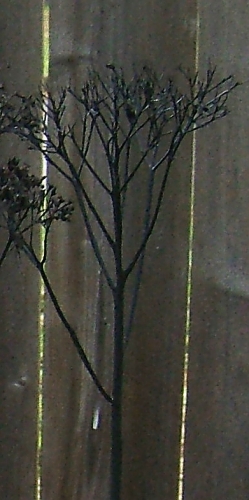
Where and When to Get the WeedsI use the term weeds because the first time I did this, I actually went into a fallow field after a couple of frosts and snagged a bunch of weeds whose tops had growth patterns just like little trees. But I'll be honest, the plants I used for these examples are from my gardens. Most of them are from Autumn Joy sedum, a red-flowering, sturdy version of the "live-forever" plants my grandma used to grow. These flower-heads have really had a chance to dry - I left those heads up on purpose last fall because I was planning on doing this project. One twig is from a little ruby yarrow (achillea millefolium rubra), which is related to the kind that grows wild in the far north. This particular flower head had had bloomed in July and I hadn't gotten around to deadheading it until I started this project.
Now don't go cutting the heads off of other people's flowers without their permission. These examples are just to give you ideas, not to get you into that sort of trouble. The short version is, find dried weed or flower heads that resemble the structure of small trees, and that you won't get in trouble for taking. Also, if possible, break or cut the stem so that it is six inches longer than you'll probably need it. Preparing the StemsIf your stems have anything that will cause them to look funny, like the little leaves still dangling from my yarrow, remove them. On the other hand, if they still have tiny seed pods on the heads, like most of the Autumn Joy twigs did, just shake the loose ones off and let the other ones stay - they'll stabilize once you soak them with adhesive, and will provide more surface area for the green stuff to stick to.
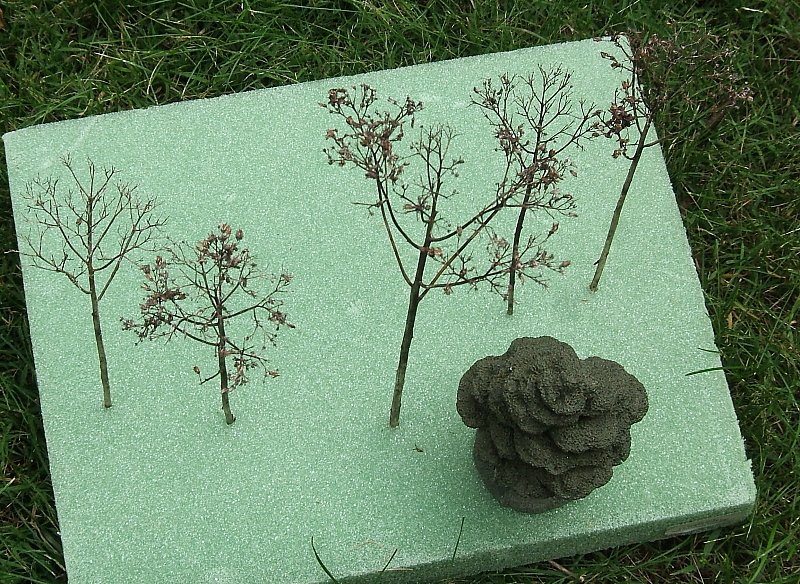
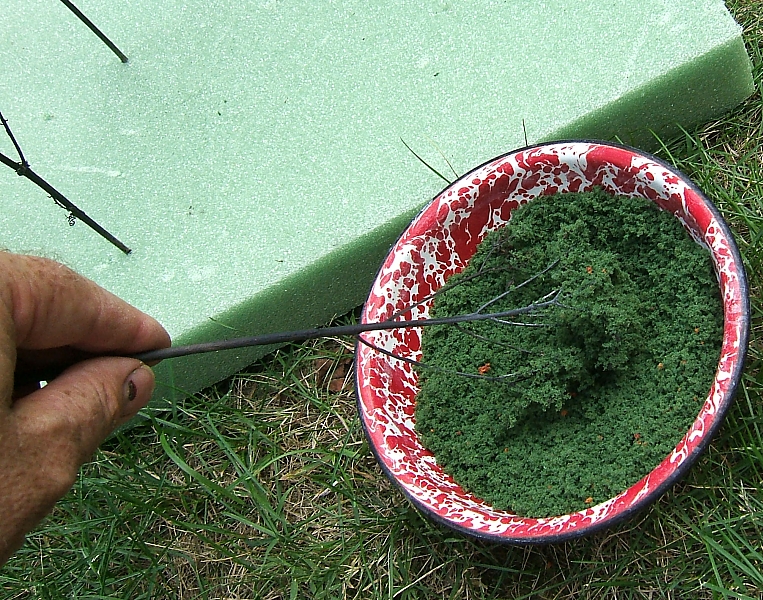
Also, two of the twigs had very few of the little seed heads that were remaining on the other twigs so it exactly resembled a tree that had lost all of its leaves. I decide not to do anything with it except to knock off the rest of the seed heads and paint them black, because "dead trees" are useful for Halloween and any winter scene. Note: If you are especially interested in a dead tree look, check out Howard Lamey's article "Winter Trees from Floral Picks" Dipping the Trees in the Green StuffNow it is time to make the trees look like living green things.
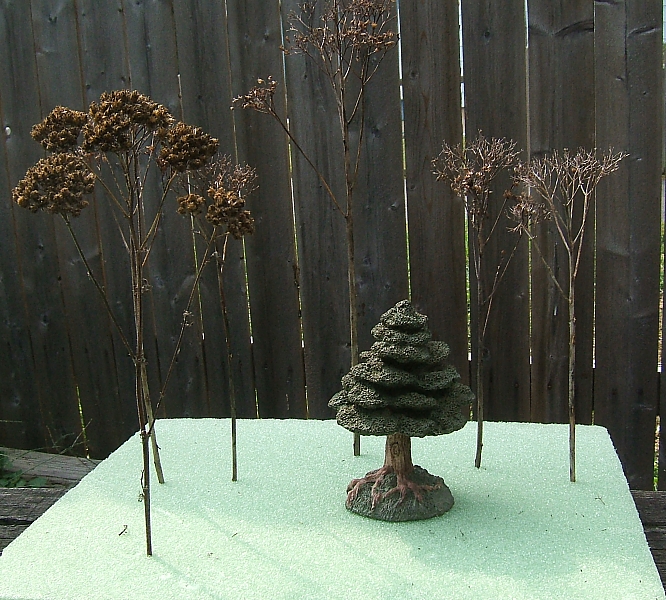
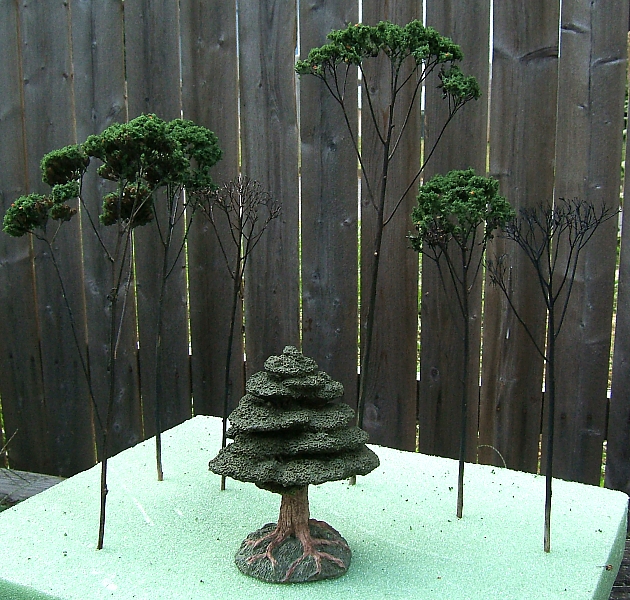
The photo above on the right shows this finished batch of trees, ready to be shortened and installed. (The resin tree is included both to give a sense of scale and to hold the project down in the breeze.) Conclusion
If you have photos of your projects that you would like us to include, or if you have any suggestions or corrections, please contact us, and we'll be sure we give you credit for your contribution. All these are only suggestions, of course. It's your train and or town; choose a method that you are comfortable with and that gives the appearance you desire. Also, if you can use freestanding "dead trees" for any scenes, check out Howard Lamey's article "Winter Trees from Floral Picks"
Note: Big Indoor TrainsTM, Big Train StoreTM, Family Garden TrainsTM, Big Christmas TrainsTM, Garden Train StoreTM, and Trains and TownsTM and HallowenTrains.comTM are trademarks of Breakthrough Communications (www.btcomm.com).
Spook HillTM is a trademark of Howard Lamey. All information, data, text, and illustrations on this web site are Copyright (c) 1999, 2000, 2001, 2002, 2003, 2004, 2005, 2006, 2007, 2008, 2009, 2010, 2011, 2012 by Paul D. Race. Reuse or republication without prior written permission is specifically
forbidden.
For more information, contact us. 
| |||||||||||||||